Low Carb Clafoutis–Fun Fruit Dessert!

No-sugar fruit dessert made with peaches

Summer fruits beg to be eaten and one delicious way is a low carb, no-sugar version of the French fruit dessert, clafoutis.

I make it with Xylitol*, a low carb sweetener that my readers will recognize- it has no weird aftertaste and allows folks with carb restrictions to enjoy at least some sweet tasting desserts to their low carb diet.

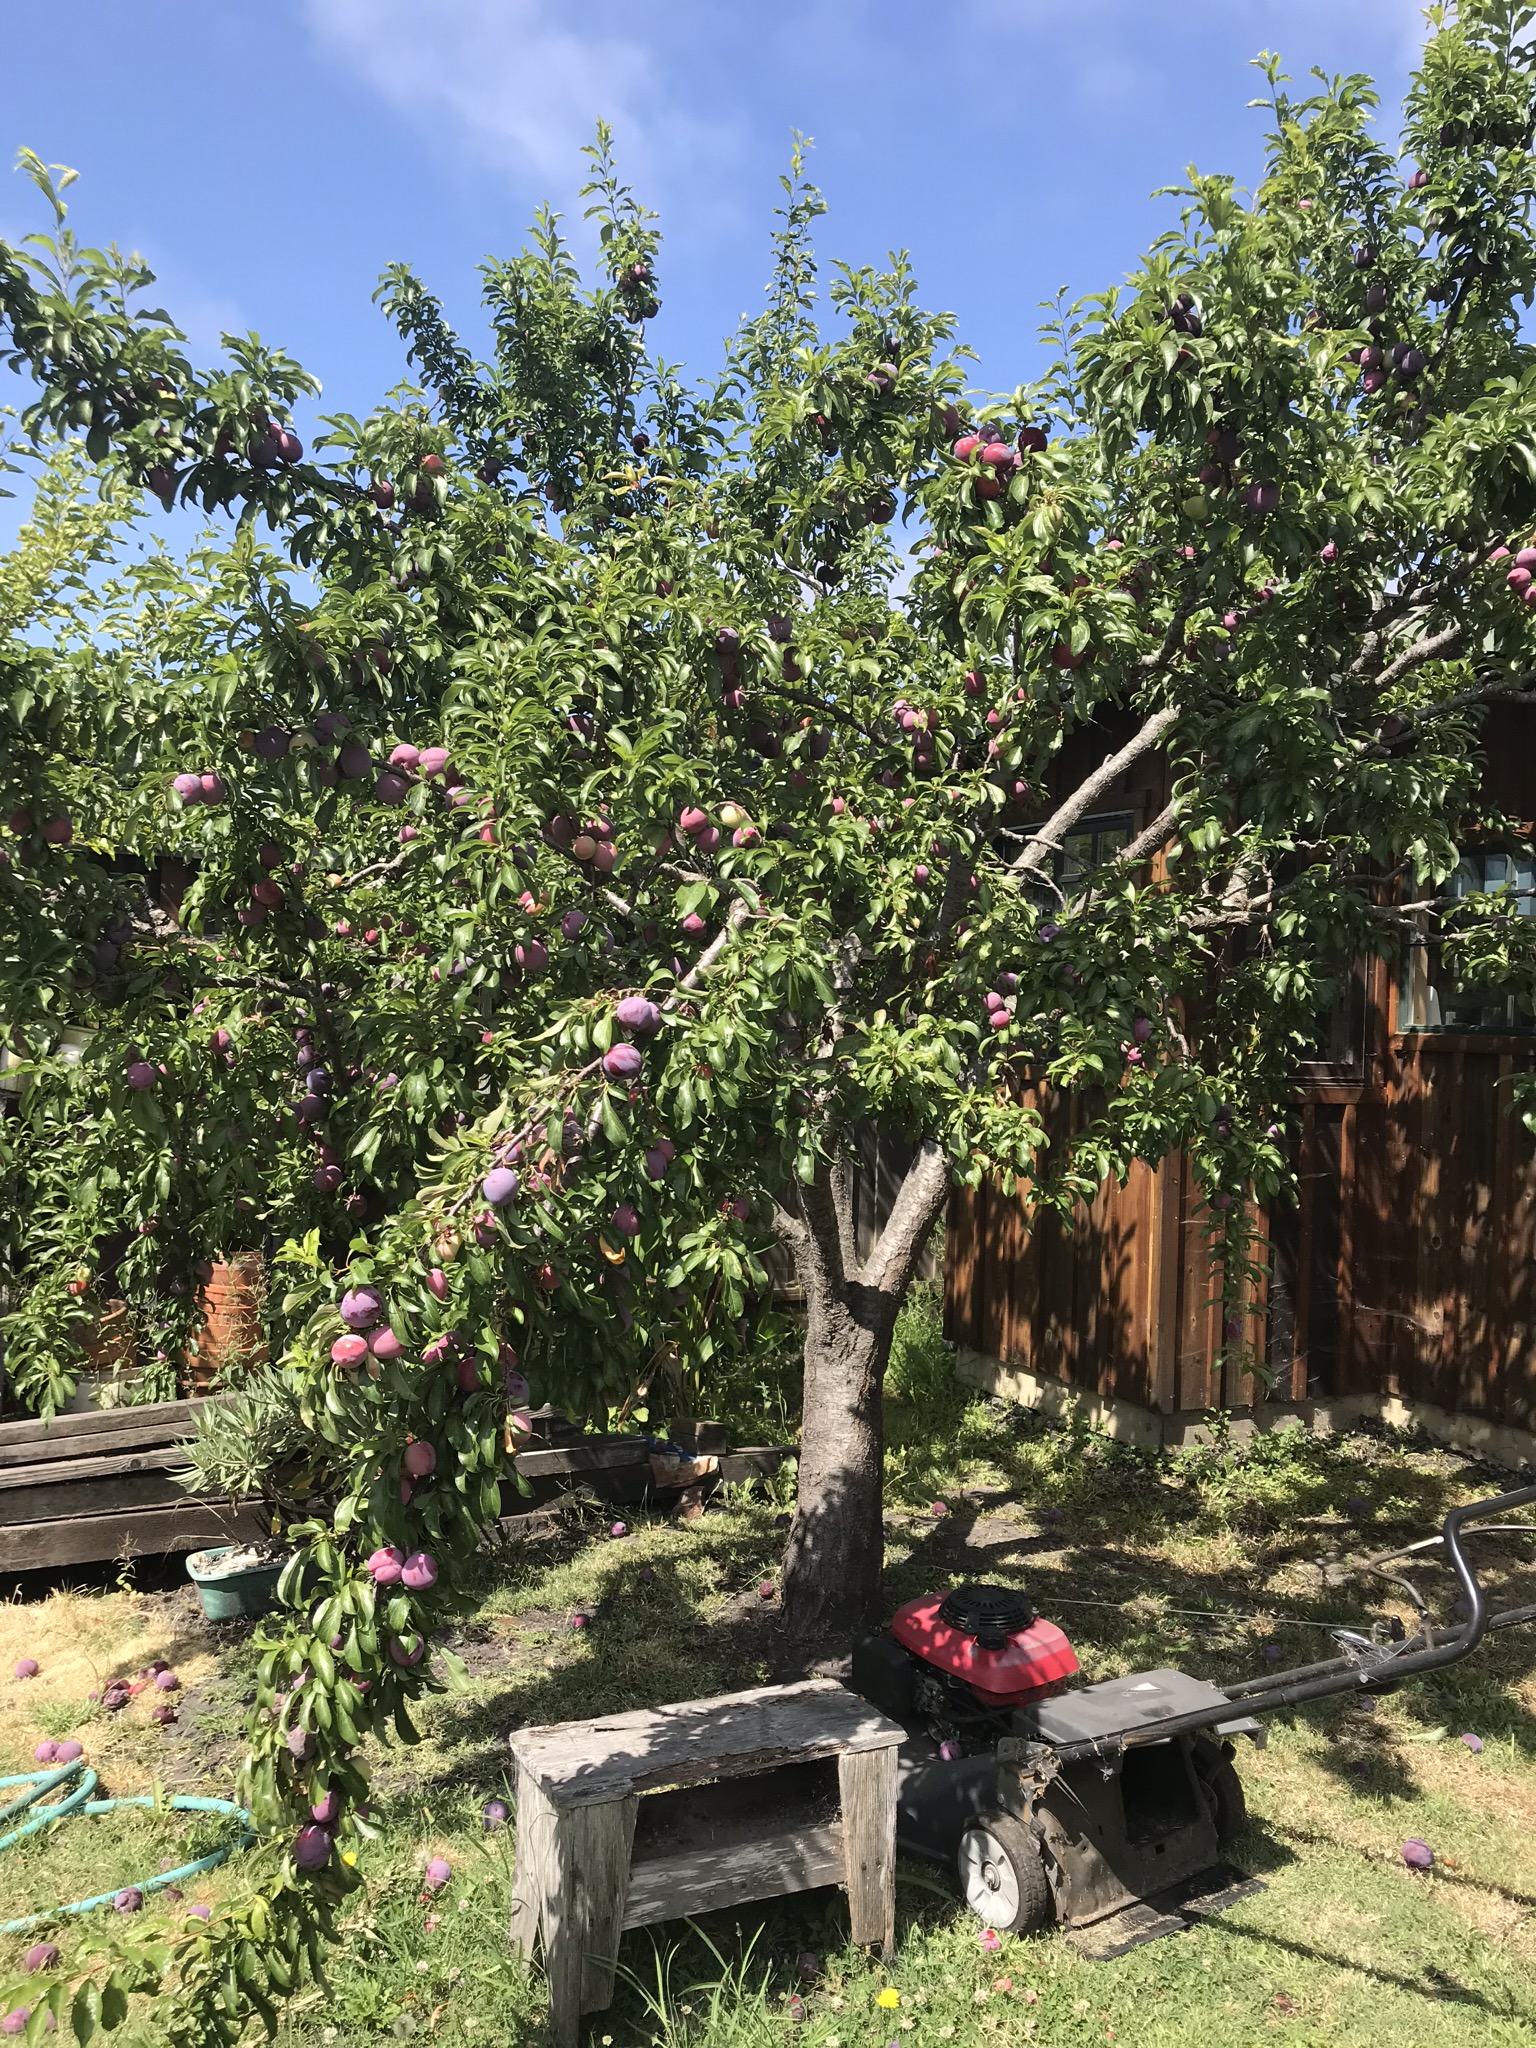
Clafoutis! Just the name makes me smile- such a cute word for such a tasty dish! I made this version mainly with peaches, (and a nectarine), but I’ve made it with plums with just as delicious results; (if you read my previous recent blog posts, you’ll know we had a bumper crop of plums last year).

Clafoutis is originally from France, made with dark cherries that traditionally aren’t pitted. There’s a chemical, amygdalin, in the pits which gives a unique flavor. However, I’ve never made it that way. In any case, I’ve been a clafoutis fan this summer especially, and have made it almost every time we’ve had dinner guests. I can’t have it too often!

In winter or fall, it can be made with apples and/or pears. I look forward to trying it then too, but now I am reveling in the summer fruit version.

INGREDIENTS (serves 2-3)

  • 4-6 fruits sliced, – peaches, plums, nectarines (depending on size), in any combination; peeled if you like, (I usually don’t peel them). The main thing is to cover the bottom of the pie plate.
  • 3 eggs, beaten
  • 1 1/3 cup milk (or milk substitute- I’ve used almond milk, for instance)
  • 2/3 cup flour- I use King Arthur whole wheat white flour
  • 2 Tbsp. Almond meal (Trader Joe’s has this–I keep a bag in my freezer–lasts a long time)
  • grated peel of one small lemon
  • 1 Tsp. Vanilla
  • 1 pinch salt
  • 1 tsp. Cinnamon
  • 6 Tbsp. Xylitol
  • butter for greasing pan

TO DO: preheat oven 375 degrees F

1. Butter a 10″ pie pan (I use a glass one) and sprinkle 1 Tbsp. of the Xylitol  over the bottom.

2. Arrange the fruit slices so that they cover the entire bottom of the pan. Sprinkle 2 more Tbsps. of Xylitol over the fruit.

3. Combine the remaining Xylitol, eggs, milk, flour, lemon zest, almond meal, vanilla and salt (remember, just a pinch- about 1/4 tsp.); blend in a blender or use an immersion blender.

4. Pour this liquid over the fruit in the pan.

5. Bake for 50-60 minutes until “toothpick” firm and the top is lightly brown. Remove from the oven and place on a rack.

6. Let stand at least 30 minutes before slicing. (if you have no restrictions, vanilla ice cream is great with this.)

That’s it! A real treat!

* https://en.m.wikipedia.org/wiki/Xylitol

Enjoy! www.type2delicious.com

Yummy Plummy Jam

image.jpeg

Colorful, delicious plum jam!

Plum tree with boughs hanging down

Plum tree hanging down with plums

image

Gorgeous plum color!

We had an abundance of plums this year! This was a year we had sufficient rain and that made a big difference–a number of  years due to the CA drought we had barely any crop. Now the tree was laden with Santa Rosa plums; the boughs touched the ground as they were so heavy with fruit. Sounds wonderful and it was, but we had so many that even after giving away boxes of them to our neighbors, we had a lot left. So of course I made plum jam! It’s a big favorite with my family (I’ve made it many times over the years), but this year there’s the challenge of not using sugar. Turned out, Xylitol works great. This jam is as delicious as the sugary kind (we don’t like it too sweet anyway), with full tasting, gorgeous, purple, plummy goodness. Great for gifts if you can part with it!

Plum jam, (or any jam), is actually not too difficult to make, once you have all the other ingredients, big pots, jars, lids/caps, and of course, plums!  And it does help to do it first time with someone who’s made jam before; mainly to give you confidence. (<*

I use a few shortcuts in that I sterilize the jars in the dishwasher on the hottest setting and also boil the lids/caps instead of using a water bath for the filled jars. I use the canning method I describe below, and it comes out great. I also read that you can sterilize jars in the oven, on low heat, 200degrees, for 15 minutes. I tried it also and seems fine, though I prefer the dishwasher using the highest heat settings.

* Also, the traditional SureJell method link is below.

(Leave a comment if you’d  like to buy a jar; I’m working on getting a license to sell them through my blog.)

Fresh Plum Jam 

INGREDIENTS (makes 10-12 jars, depending on what size you use; I use 8 oz. jars mainly and a few 12 oz.)

  • 6 cups prepared fruit: 4 lbs. fresh plums; ripe ones are fine. (I make it with Santa Rosa; you could use Pluots, or other juicy plums.)
  • 1 box low sugar pectin
  • 1/2 cup water
  • 31/2 cups Xylitol
  • 2-3 Tbsp. lemon juice
  • 1-2 Tbsp. unsalted butter–to retard foaming and boil over
  • 2 tsp. Cinnamon if desired

TO DO:

  • Pit plums. Do not peel. Finely chop or grind fruit or use an immersion blender in deep saucepan or dutch oven. Add water. Bring to boil. Reduce heat; cover and simmer 5 min.
  • Measure exactly 6 cups prepared fruit into 6- or 8-qt. saucepot. (You can use the same pot to first boil or transfer–up to you.)
  • Boil lids and rings (2-piece lids). Keep in boiling water until jam is ready.
  • Stir low sugar pectin into fruit in saucepot.  Add butter to reduce foaming. Bring mixture to full rolling boil (a boil that doesn’t stop bubbling when stirred) on medium high heat, stirring constantly.
  • Stir in Xylitol, lemon juice, (and cinnamon, if desired). Return to full rolling boil and boil exactly 1 min., stirring constantly. Remove from heat. Skim off any foam with metal spoon.
  • Lift out lids and rings from boiling water; (I actually do this one 2-piece lid at a time. I lift out the 2-piece lid with tongs for each jar, then fill that jar and so on.)
  • Ladle jam immediately into prepared jars, filling to within 1/4 inch of tops. Wipe jar rim and threads.  Cover with two-piece lid. Screw bands tightly. Turn the hot filled jars upside down on a towel to cool (this heat seems to help to make sure the jam lids are tight.)
  • After jars cool, turn right side up and check seals by pressing middle of lids with finger. (If lids don’t click down, but spring back, lids are not sealed and refrigeration is necessary.)

* The SureJell website has instructions for the traditional water bath method:

http://www.kraftrecipes.com/recipes/surejell-plum-jam-52036.aspx


Enjoy! www.type2delicious.com

Grandma’s Fresh Applesauce with Cinnamon

<img alt=" Fresh no sugar applesauce with cinnamon"

Fresh Applesauce with Cinnamon!

IMG_1378

It’s fresh fruit season! Our apple tree is full of fruit and apples are dropping all over our yard. So naturally it’s applesauce time! I realize that usually apples are an autumn crop but somehow ours are ripe now.

My grandma made the best applesauce –kinda chunky yet tender and very flavorful. Her secret was use mainly white wine, lemon juice, cinnamon and a very little water, if any. And yes, sugar. It was always a special treat. And now there’s a way to make Gran’s applesauce without sugar or weird tasting substitutes.

One legitimate lament of diabetics and other carb conscious folks is the lack of sweets and desserts in the diet. One solution I’ve found is making desserts with fruit and using a sugar substitute called Xylitol to add sweet flavor with limited carbs; (the label states that it is “75% fewer carbs than sugar” with “40% fewer calories”). There are 4 gms of carbs per tsp. and 10 calories. (Note: I have no relationship with any Xylitol manufacturers or distributors.)

I use it sparingly in any case, but it definitely makes desserts such as this tasty cinnamon applesauce very satisfying without sacrificing flavor. It’s also easy to make (and smells divine while cooking). I’m sure it will become a staple in your household as it is in mine!

I also make a delicious fresh plum jam using Xylitol and no sugar; recipe to come.

INGREDIENTS (serves 4-6)

  • 2-3 lbs. fresh apples (best from a tree or farmer’s market)
  • 1-2 Tbsp. lemon juice
  • 1/2 cup white wine (I like to use any Sauvignon Blanc from Marlborough area of New Zealand); you may add more if the apples are too dry.
  • 1/3 cup Xylitol
  • 1-2 tsp. ground cinnamon, and 1 cinnamon stick
  • 1/4-1/3 cup water as desired or needed
  • 1/2 cup blueberries (optional; you can add blueberries if you like–I like it “straight” best but sometimes add them for a variation, especially if there are an abundance at the local farmer’s market.)

TO DO

  1. Rinse, peel and chop the apples; you can leave some skin on; chop roughly into about 1″ pieces.
  2. Add apple pieces into a large cast iron or dutch oven, on the stovetop with medium high heat.
  3. Add white wine and Xylitol, and cinnamon stick.
  4. Stir constantly, until the apples are bubbling.
  5. Cover and turn down the heat to low, and cook for approximately 1/2 hr., stirring every so often, until the apples are tender. Add additional liquid in small amounts as needed (apples should be moist).
  6. Add lemon juice and ground cinnamon to taste.


Enjoy!

www.type2delicious.com

Vietnamese Bean Sprout Salad

image

Vietnamese Bean Sprout salad

Asian bean sprout salad with carrots in a green bowl

Vietnamese Bean Sprout Salad

The spring weather here in Santa Cruz is making me crave salads. One I made recently is this very tasty salad with flavors that remind me of the fresh, delicious, inventive foods we enjoyed on the amazing Vietnam journey we took a few years ago. This salad is made with simple ingredients; fresh bean sprouts, green onions and carrots. But it’s the dressing that gives it the sweet, tangy goodness that makes you want to lick your plate!

As I’ve used previously, the sweetness comes from Xylotol, a low carb sweetener made from hard wood. It’s easily obtainable at most grocery stores that offer organic foods, such as Whole Foods and New Leaf, a local NorCal chain.

This recipe is modified from a cookbook we got in Vietnam–“Vietnam Cooking made easy.” (Although many of the recipes really aren’t that easy- this one is!)

INGREDIENTS (serves 3-4)

Vietnamese pickled bean sprout salad

  • 1lb. fresh bean organic sprouts, rinsed (caution: be sure the bean sprouts can be safely eaten raw. Those bought in Asian markets may have a warning that they must be only eaten cooked. Don’t use those for this salad!)
  • 2-3 spring onions, rinsed and cut into 1 ” lengths
  • 1-2 small carrots, scrubbed and cut into matchsticks to yield 1 1/2 cups

Dressing

  • 3/4 cup white vinegar (I use standard white vinegar and add a few Tbsp. of white wine vinegar.)
  • 2-3 Tbsp. Fish sauce (Thai is ok; it’s often easier to obtain then that made in Vietnam.)
  • 2 Tbsp. Xylotol
  • 1 cup water

TO DO

  1. Rinse bean sprouts and set aside to dry for approx. 1/2 hr.
  2. Combine sprouts, carrots, green onions in salad bowl and refrigerate.
  3. In a saucepan, bring the Dressing ingredients to a boil over medium heat, then reduce heat to low and simmer for 2-3 minutes to dissolve the Xylotol.
  4. Remove from heat and let cool.
  5. Dress the salad and let marinate for at least 1 hour.
  6. Drain excess liquid before serving. (You can use the dressing excess to marinate chicken or fish.)

Optional: serve with chopped cilantro.

Enjoy!


New Tuna Salad

image

In the previous post I told you about the delicious lunch combo and gave the Lemony Kale Salad recipe.

Now here’s the 2nd half; the New Tuna Salad recipe. What’s new about it? If you’ve followed Type2delicious for awhile you may remember “Rick’s Chicken Salad,” chock full of carrots and other good things; you can find in previous recipes under “Light and Tasty Lunches.” This time I added hummus to the salad mix, along with a dollop of Mayo, carrots, red onion and spices, and of course, fresh lemon juice.

You can serve the tuna salad on a bed of romaine lettuce or a slice of whole grain toast, depending on your dietary needs; of course, the lettuce base is ideal for low carb diets.

This is a perfect lunch dish to enjoy when the weather cooperates and you can eat al fresco, as we do in our “Cafe Baxter,” named for our cat who likes to rest on the chairs in the CA sun.

Our backyard Cafe!

Our backyard Cafe!

image

Baxter on his favorite cafe spot.

INGREDIENTS

New Tuna Salad ( serves 2-3)

  • 1 can solid Tuna (I use water packed but oil is ok too-up to your dietary needs and likes)
  • 1-2 carrots, chopped fine
  • 1/3 cup red onion, chopped fine
  • 1/2-1 celery stalk, chopped fine.
    • 2-3 tsps. sliced toasted almonds or pine nuts (I use Trader Joe’s pre-toasted unsalted sliced almonds.)

Dressing

  • 2-3 Tbsp. Lemon juice (or more – to taste)
  • 1/3 cup hummus, any flavor; (I tried tomato basil hummus and liked it, also a lemon garlic one was delicious.) You can add a bit more once you mix the dressing with the tuna to get the consistency you like.
  • 1-2 Tbsp. Mayonnaise; Best foods (or Hellman’s) light is my favorite.
  • no-salt spices of your choice, including lemon pepper

TO DO

  1. Combine/mix dressing ingredients; I use a small wisk to mix well.
  2. Combine Tuna and veggies in medium size bowl.
  3. Combine Tuna salad and dressing, and refrigerate for at least 1/2 hour.

Optional: Top with chopped cilantro, dill or chives

Enjoy!


Lemony Kale Salad and New Tuna Salad

image

A delicious lunch combo

A delicious lunch combo

We are lucky in CA to have warm days in April that beg for outdoor eating “al fresco.” We take advantage when we can and enjoy these two delicious salads together; crunchy kale with a tangy lemony dressing along with our favorite tuna veggie salad. This time I added hummus to the tuna, along with Mayo, carrots, red onion and spices, and of course, fresh lemon juice.

You can serve the tuna salad on a bed of romaine lettuce or a slice of whole grain toast, depending on your dietary needs.

First comes the Lemony Kale Salad recipe; the Tuna to come. Stay Tuned!

INGREDIENTS

Lemony Kale Salad (serves 2-3)

  • 2 cups baby kale, washed and torn into bite sized pieces
  • 1/3 cup sprouts ( your choice)
  • 1/2 small red onion, sliced thin, approx. 1/3 cup
  • 1/4 cup pumpkin seeds or pita nuts or a combination

Dressing

  • 2-3 Tbsp. Lemon juice (or more – to taste)
  • 1/3 cup olive and/or walnut oil; (it’s  expensive but really adds flavor– you can add just a Tbsp. with the olive oil if you like)
  • 1 tsp. Dijon mustard
  • no-salt spices

TO DO

  1. Combine/mix salad dressing ingredients and let sit for 10-15 minutes.
  2. Combine kale and sprouts and onion in salad bowl.
  3. Brown seeds/ nuts in skillet or bake 350 on cookie sheet for 10 minutes – let cool.
  4. Dress salad and sprinkle nuts/seeds on top.

Optional: grate semi hard goat cheese, such as Midnight Moon, Trader Joe’s White Goat Gouda or regular Parmesan on top

Enjoy!


Fruit Dessert with low carb Raspberry Sauce

One legitimate lament of diabetics and other carb conscious folks is the lack of sweets and desserts in the diet. One solution I’ve found is making desserts with fruit and using a sugar substitute called Xylotol to add sweet flavor with limited carbs; (the label states that it is “75% fewer carbs than sugar” with “40% fewer calories”). There are 4 gms of carbs per tsp. and 10 calories. (Note: I have no relationship with any Xylotol manufacturers or distributors.)

I use it sparingly in any case, but it definitely makes desserts such as this delicious fruit plate with raspberry sauce taste wonderfully satisfying. It’s also so pretty- a real party pleaser! *

I also use Xylotol in my fresh applesauce; recipe to come.

INGREDIENTS (serves 4-6) (you can use almost any fruit of your choice- this is a winter version featuring local, fresh ripe citrus)

  • 3-4 oranges, your choice (for maximum color, I like to use a combination of Cara Cara, blood oranges and sometimes a Navel.)
  • 1-2 tangerines
  • 1-2 Kiwis
  • 1/2 cup blueberries
  • 1/3-1/2 cup raspberries
  • SAUCE:
  • 1 bag frozen raspberries
  • 1 Tbsp. Lemon juice
  • 1-2 Tbsp. Xylotol
  • 1-2 Tbsp. Rum or Cognac or water

TO DO

  1. Make the sauce first so the flavors can meld.
  2. Pour the frozen raspberries into a deep sided mixing bowl. Let sit for 1/2 hr. to thaw slightly or thaw 3-4 minutes in a microwave. They should still be somewhat frozen.
  3. Add rum, cognac or water and Xylotol.
  4. Using a hand mixer or stick immersion Mini pimmer, mix til the consistency is thick but liquid enough to pour; somewhat the consistency of Hollandaise sauce. Add lemon juice and additional liquid in small amounts if needed.
  5. Peel and slice fruit into rounds. (Obviously not the berries (<*)
  6. Lay fruit in a circular pattern on a large round, preferably glass, plate or platter. Start with larger pieces, then smaller on top, (I like the Kiwii rounds on the top of the orange pieces), with edges overlapping. Finish with berries as a garnish.
  7. Serve with sauce; I add a bit over the plate and offer the rest of the sauce in a gravy dish with a small ladle.

* I’ve produced a video demonstrating making this dessert; to be featured soon on the blog. Stay tuned!

This has been the hit of any parties I’ve brought it too. Hopefully you have the same experience!

Enjoy!

www.type2delicious.com

Cheesy Deliciousness!


Delish cheese appetizer

Sometimes you just want something decadent and creamy, especially for a special dinner party or celebration. This appetizer fits that perfectly. Also it’s easy to make; low carb, and scrumptious. Be sure to serve it while warm and melty, with whole grain crackers. You’ll be the hit of the party!


Ingredients

1  4- to 6-inch round Camembert and/or Brie cheese; (I also use a goat Brie as Rick doesn’t eat cow milk products.) Leave the cheeses at room temperature for at least 1/2 hour before preparing.
1 egg, beaten
1/2 –3/4 cup fresh bread crumbs
4 Tbsp. unsalted butter and/or 1-2 Tbsp. Olive oil
1/2 cup chopped green onion; save some for garnish

Instructions 

Dip the cheese in the egg and then coat all sides with the bread crumbs. (tip: you can lightly sprinkle flour on the cheese before dipping in egg; keeps the batter on better.)

Heat 2 tablespoons of the butter/olive oil in a small skillet over medium heat just until it starts to brown.

Brown cheese on one side, then the other; about 3-4 minutes per side. Remove to a serving plate and keep warm. (I put on a ceramic plate and into a 250 degree preheated oven.)

Wipe out the skillet with a paper towel and add the remaining butter/oil to the skillet. Melt over medium heat and when foamy, saute the onions for 2-3 minutes until soft and starting to brown.

Remove cheeses from oven. Sprinkle sauteed onions over the cheese rounds and serve immediately with crackers. Garnish with a few raw green onions.

Enjoy!


Luscious Veggie Eggs


Lucious Veggie Mixture

Lucious Veggie Mixture

Eggs underneath the veggies

Eggs underneath the veggies

Sauce Ingredients

Ready to enjoy!i

Ready to enjoy!i

This morning I wanted to celebrate Martin Luther King’s B-Day and serve eggs in a different way. Actually I originally thought of the sauce, my own version of a remoulade, but found we had a variety of veggies in the fridge, including leftover cooked ones, so combined them with gently fried eggs and the sauce.

Rick approved!

INGREDIENTS (serves 2)

  • Approx. 1 1/2 cup Vegetables, chopped fine (I used 1/2 large onion, leftover cooked broccoli, cauliflower, yellow squash, and carrots, 1/3 red pepper, and about 1 cup spinach.)
  • chopped cooked sausage (optional)
  • 2 fresh eggs
  • Olive oil/butter
  •  Goat cheese for grating (optional)
  • Herbs; your choice; I like Herbs de Provence


  • Remoulade Sauce:
  • 1/3 cup Mayonnaise
  • 1tsp. Dijon mustard
  • 1Tbsp. Ketchup
  • 1 tsp. Capers
  • 2-3 drops Siracha (optional)

TO DO

1. Saute chopped onions in butter/olive oil mix until browned.

2. Add red peppers ( and any other uncooked veggies- I used leftover cooked ones except for the onions, red pepper and spinach); saute until tender, about 5 minutes.

3. Add the remaining cooked vegetables, and spinach. Saute a few more minutes until spinach is tender.

4. Remove veggies to a bowl.

5. Make sauce: combine Mayonnaise, mustard, ketchup, capers. Set aside for serving; (can be made ahead of time)

6. Gently fry eggs; sunny side up. Sprinkle with herbs and cheese if desired.

7. Slide an egg on each plate; top with veggie mix and serve with sauce.

Enjoy!

www.type2delicious.com

Persimmon and Endive Salad

After lots of rich food, cocktails and wines over the holiday rush, parties and family celebrations, I welcome a crisp salad using fresh winter ingredients,  including the sweet taste of Fuyu persimmons, which are abundant during this season. As you probably know, there are two kinds of this golden orange fruit; the Fuyu, which can be eaten raw, like an apple, and the Hayachi, usually used in cooking, as it must be allowed to ripen until soft and mushy, otherwise it is very astringent. See the link below for an overview of persimmons.

For this salad I use the Fuyu and endive, which slightly bitter taste combines well with the sweetness of the persimmon. Add fresh crunchy romaine, some arugula, with a savory, tart dressing based on olive and walnut oil, and you have a salad that is refreshing for a jaded holiday palette and simply delicious.

http://localfoods.about.com/od/persimmons/tp/persimmons.htm

Persimmon and Endive Salad

INGREDIENTS (serves 3-4)

  • 1 romaine lettuce, torn into bite- size pieces
  • 1 cup arugula
  • 1 Fuyu persimmon, sliced into thin slices
  • 1-2 endives, (depending on size), sliced
  • Dressing:
  • 1/3 cup Olive oil
  • 1/4 cup Walnut or other nut oil
  • 2-3 Tbsp. Lemon juice
  • 1/4 cup balsamic vinegar
  • 1-2 Tbsp. Red wine vinegar
  • 1 tsp. Dijon mustard
  • Garnish:
  • 1/3 cup sliced almonds
  • Herbs de Provence
  • Salt free seasoning/pepper to taste

TO DO:

1. Add romaine and arugula in a large salad bowl.

2. Wisk dressing ingredients in a separate bowl or container.

3. Dress and toss the salad greens before adding other ingredients on top, (a technique so that the toppings stay on top–from Rick’s daughter who worked as a catering assistant).

4. Add sliced endive and persimmons on top of dressed greens.

5. Sprinkle with sliced almonds, Herb de Provence and seasonings.

Enjoy!

www.type2delicious.com